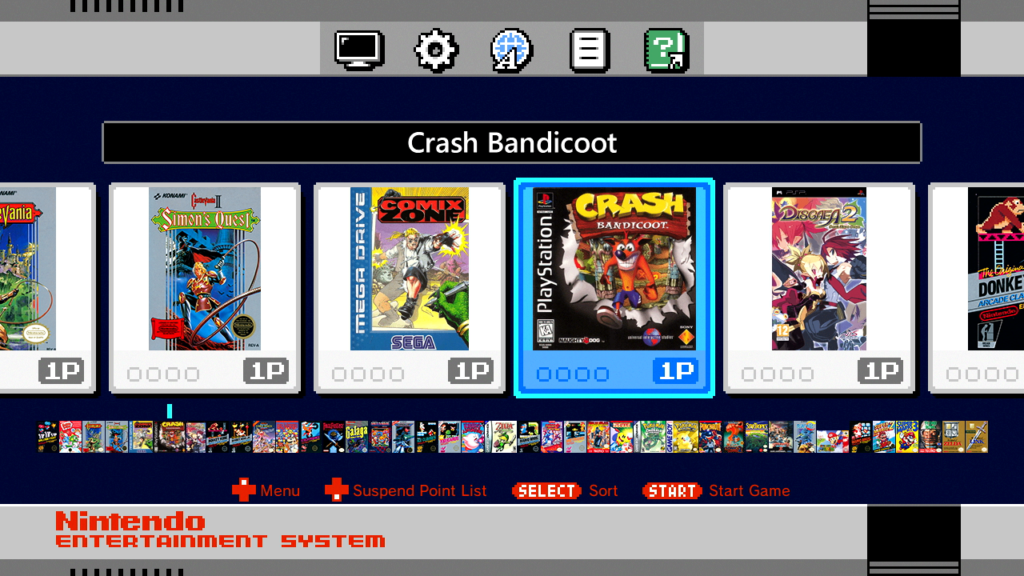
This tutorial will show you how to add and play Playstation 1 (PS1, PSX) games on your NES Classic Mini! The process is simple. The NES Classic Mini hardware is somewhat limited but many Playstation games do run well.
Before we get started:
You will need a computer running Windows to complete this tutorial. This guide uses the latest version of hakchi2 CE which we highly recommend.
Add and Play PSX Games on NES Classic Mini
If you have already installed hakchi2 CE to your console then: run hakchi2 CE, connect your device to your computer, and turn it on. Wait until the status shows Online then skip to step #6. Otherwise, please start from step #1.
![]()
1. Download hakchi2 CE (click on hakchi2-ce-#.#.#-release.zip) and extract it to your computer.
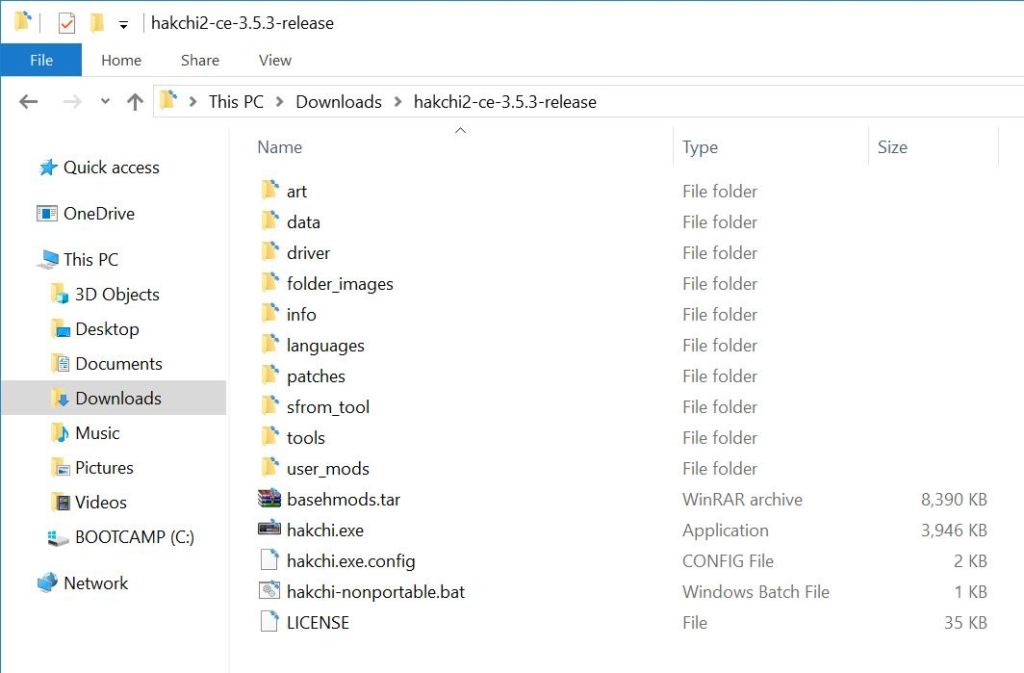
2. Open hakchi.exe.
3. Go to Kernel > Install / Repair.
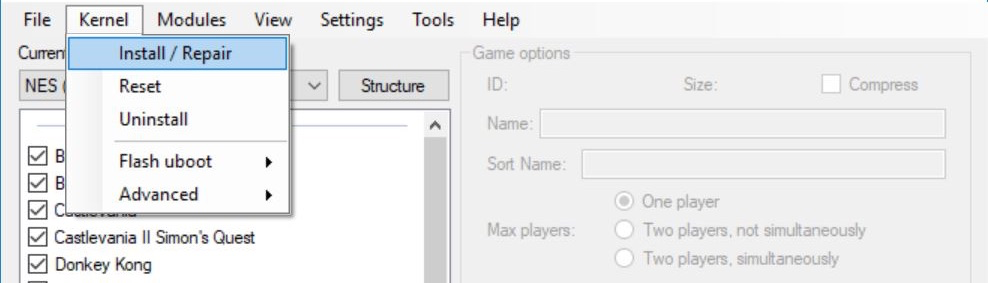
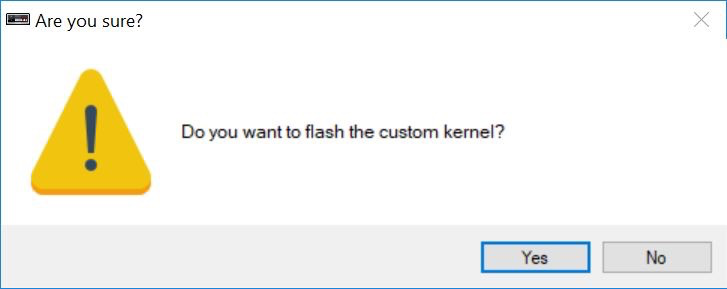
4. Hit Yes to flash custom kernel.
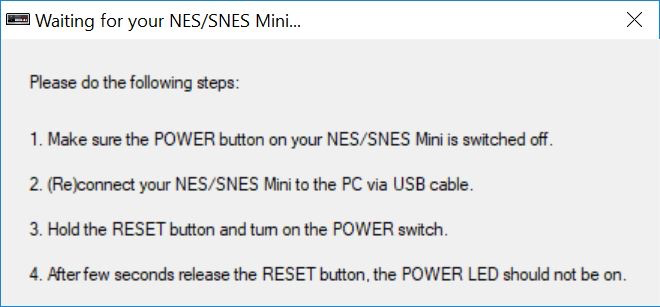
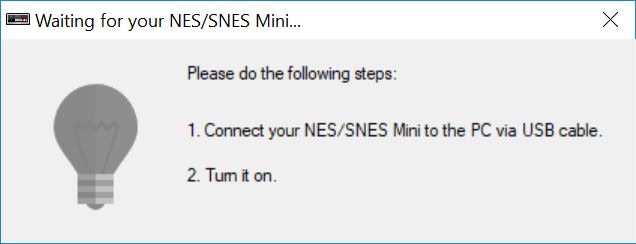
5. Connect your NES Mini to your computer with the included micro-USB cable and if prompted, make sure you install the drivers – you will only need to install the drivers your first time. Now follow the instructions on the screen: hold the Reset button, turn on the Power switch, and then after a few seconds release the Reset button.
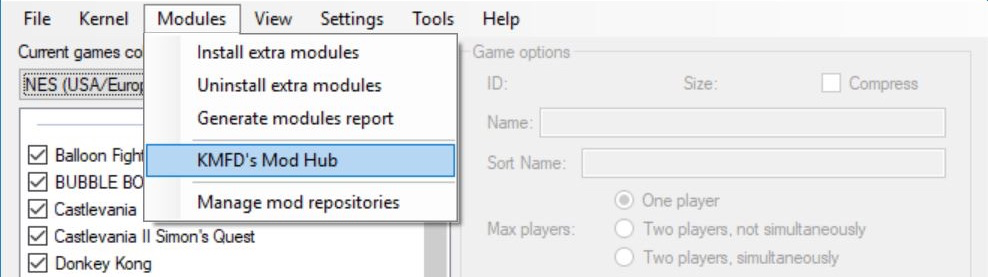
6. After the flashing is complete, go to Modules > KMFD’s Mod Hub.
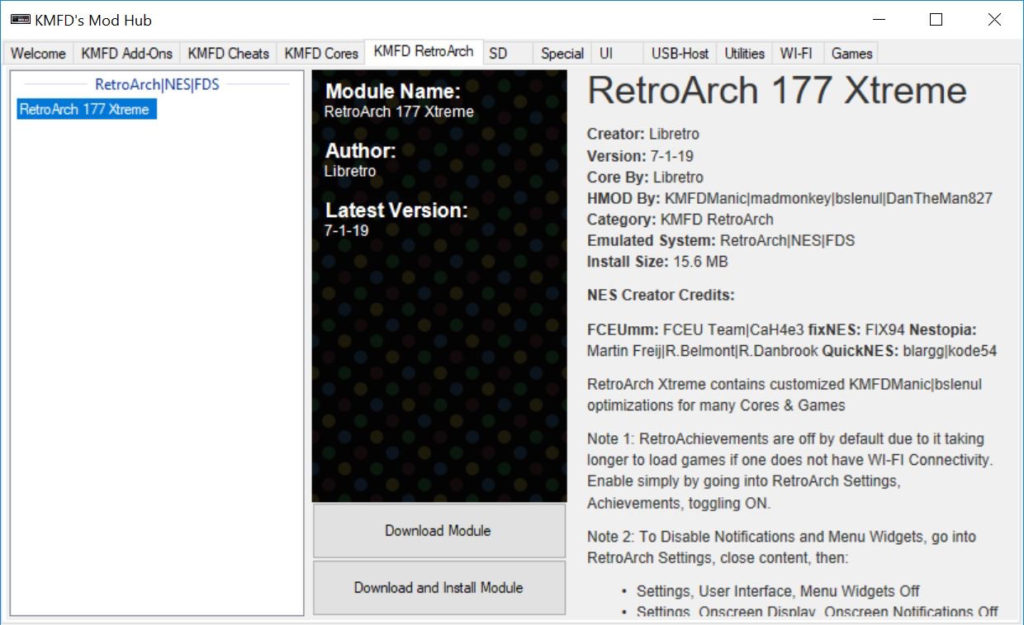
7. Go to the KMFD RetroArch tab, select the latest RetroArch, and press Download and Install Module.
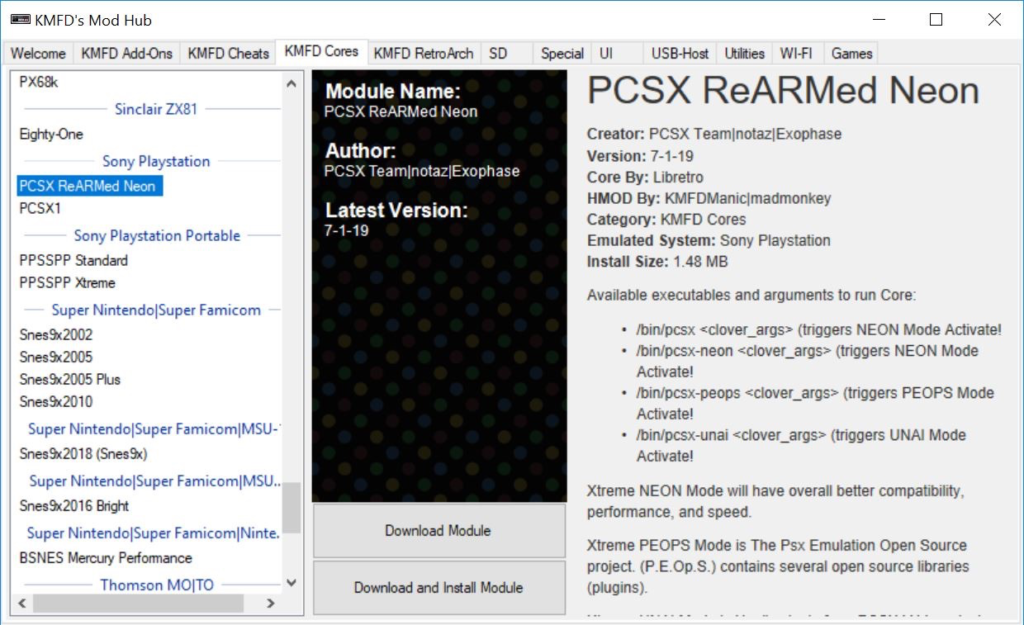
8. Go to the KMFD Cores tab, select PCSX ReARMed Neon under the Sony Playstation section, and press Download and Install Module.
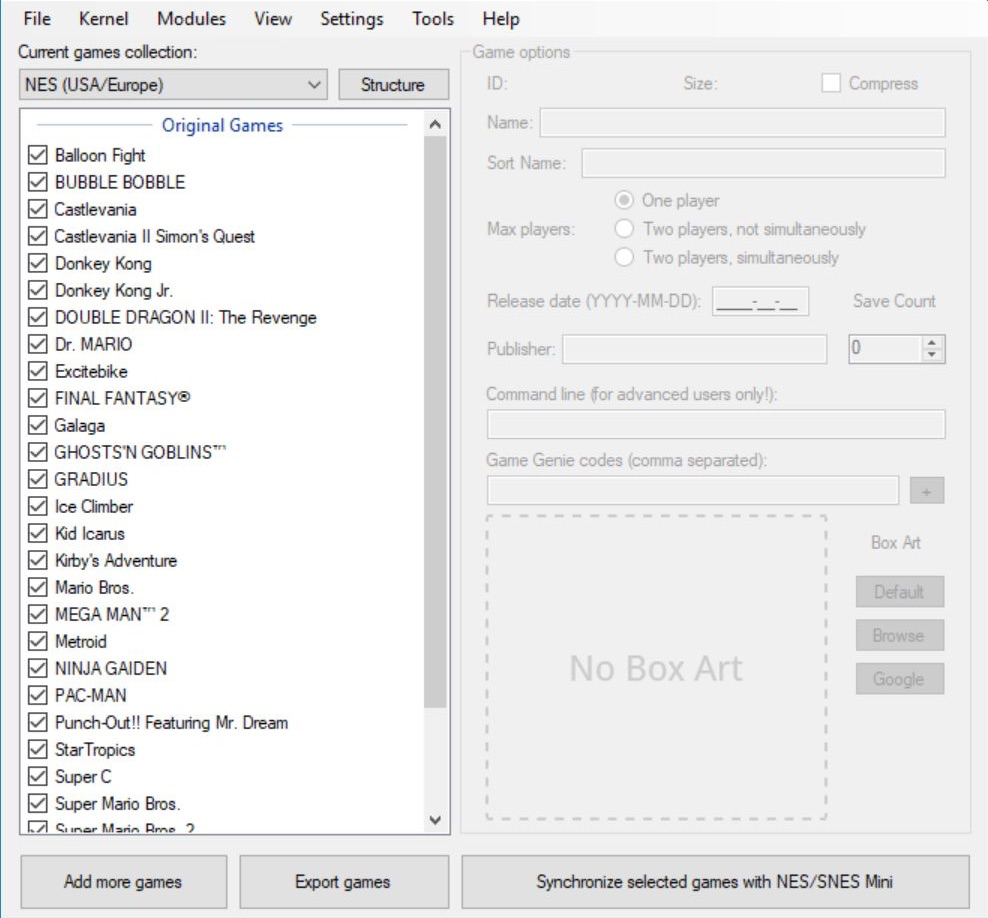
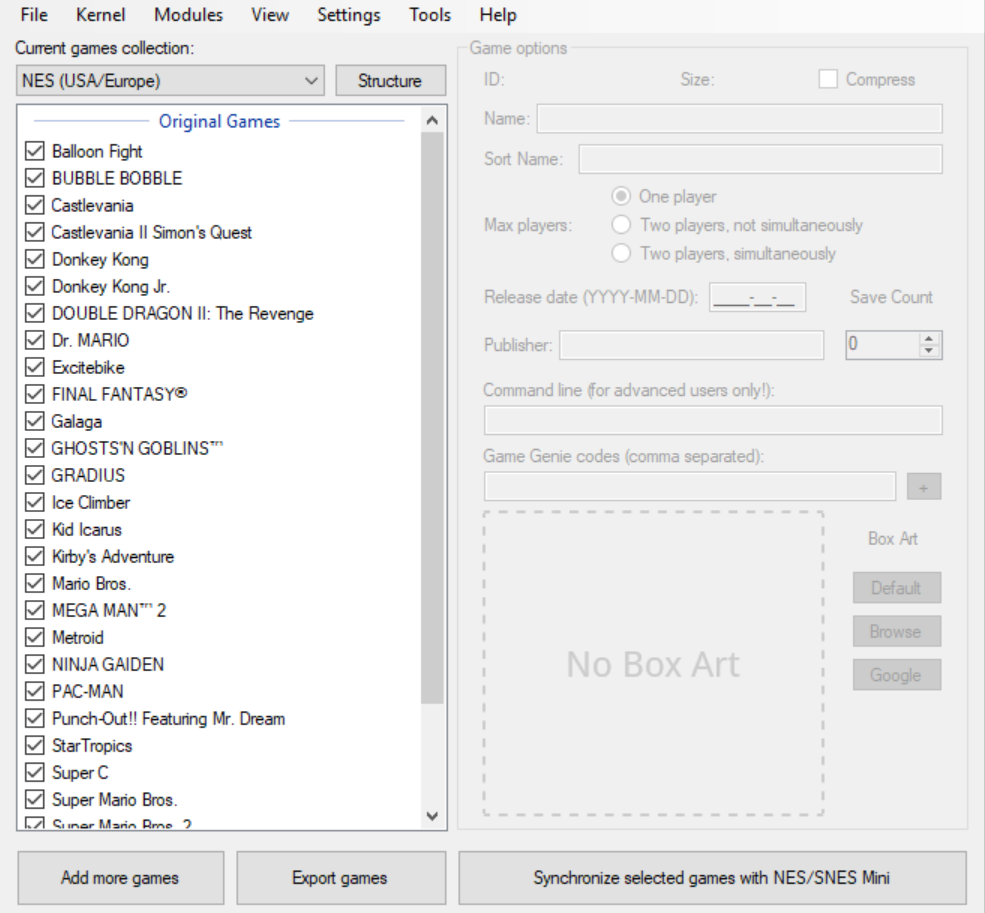
9. Exit the Mob Hub and press Add more games. Now add your ROM – it should be a .PBP file. If it is in another file extension, you can use PSX2PSP to convert it to .PBP.

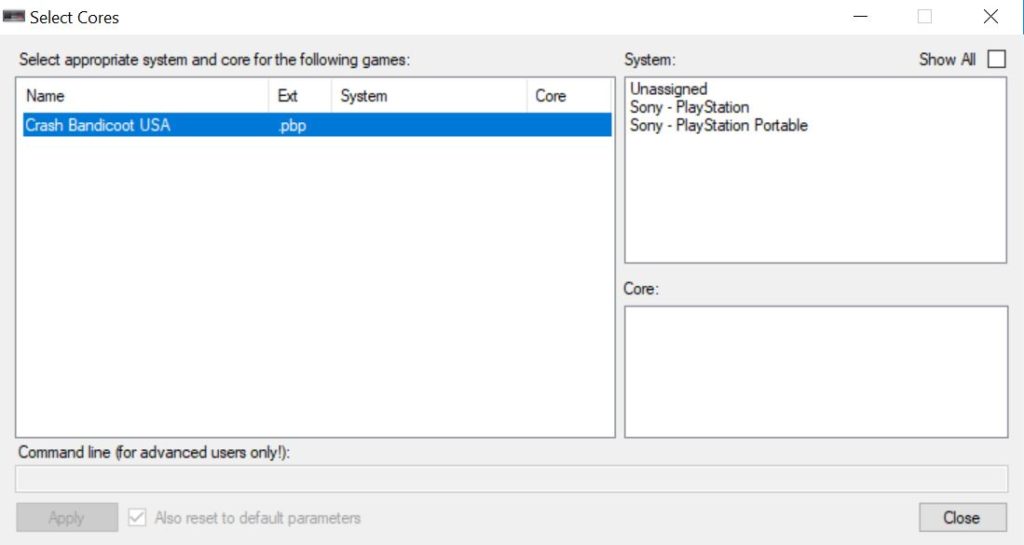
10. You will be prompted to Select Cores. First highlight the game name.
11. Select Sony – PlayStation under System (top-right corner).
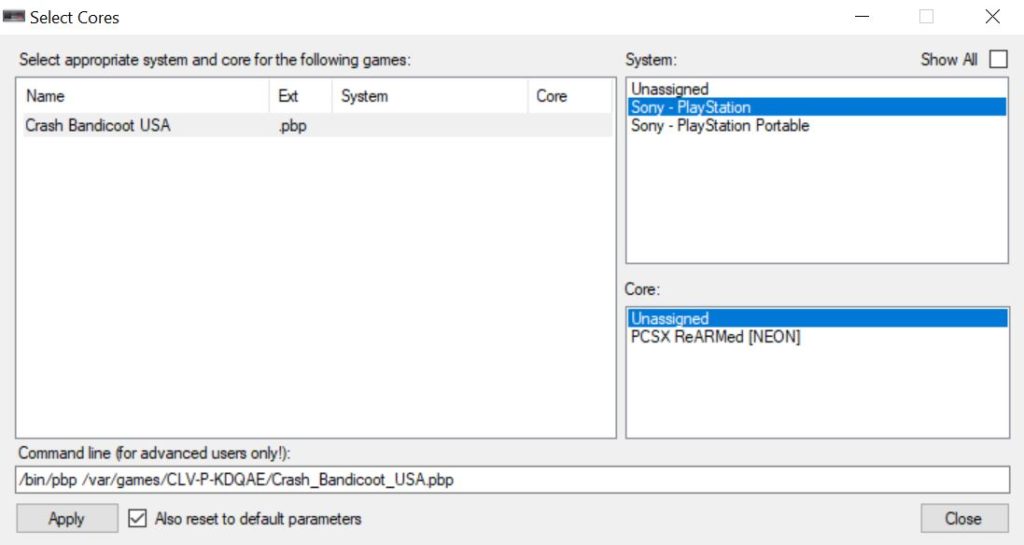
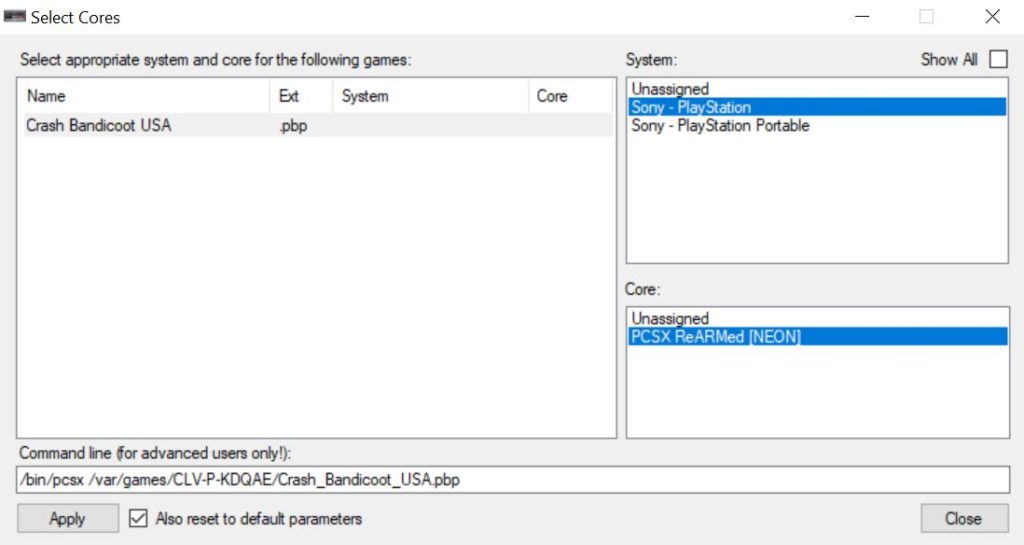
12. Now select PCSX ReARMed [NEON] under Core (bottom-right corner). Afterwards, press Apply then Close.
13. (Optional) Select the game and you can edit the information including the game name, box art, and more on the right side under Game options. You can also right-click the game and hit Download box art for selected games to automatically download the box art.
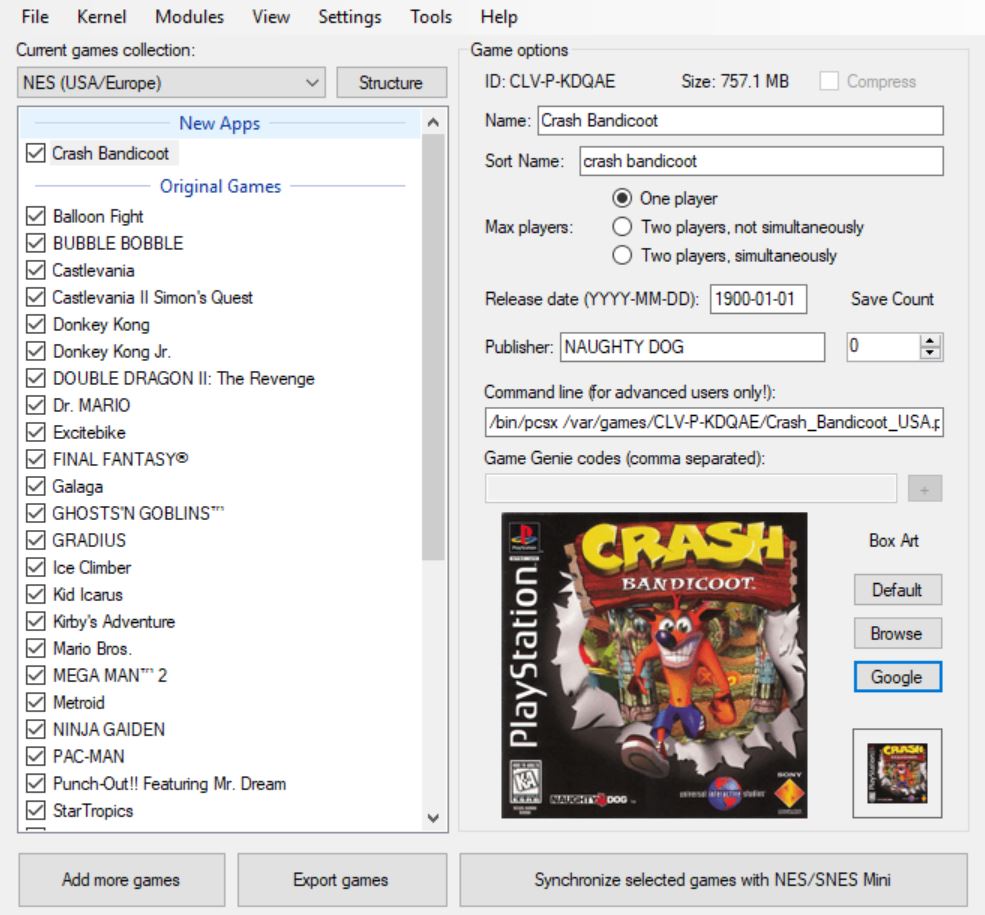
14. Press Synchronize selected games with NES/SNES Mini.

Once the sync is completed, you can disconnect your mini and connect it to your TV. The game should now be available on your NES Classic Mini.
How-to Map Controller
You will need to assign buttons from the PSX controller to your own controller. The NES Classic controller has a limited amount of buttons, so we recommend the 8Bitdo Sn30 controller and receiver.
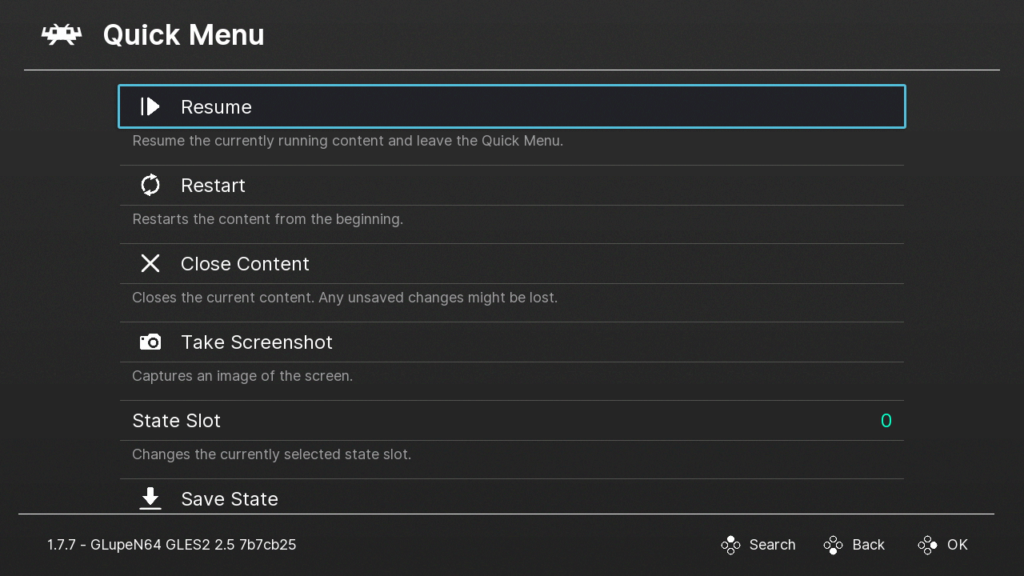
1. After you launch the game, press Start & Select to open up the RetroArch menu.
2. Go to Options and go down to Controls.
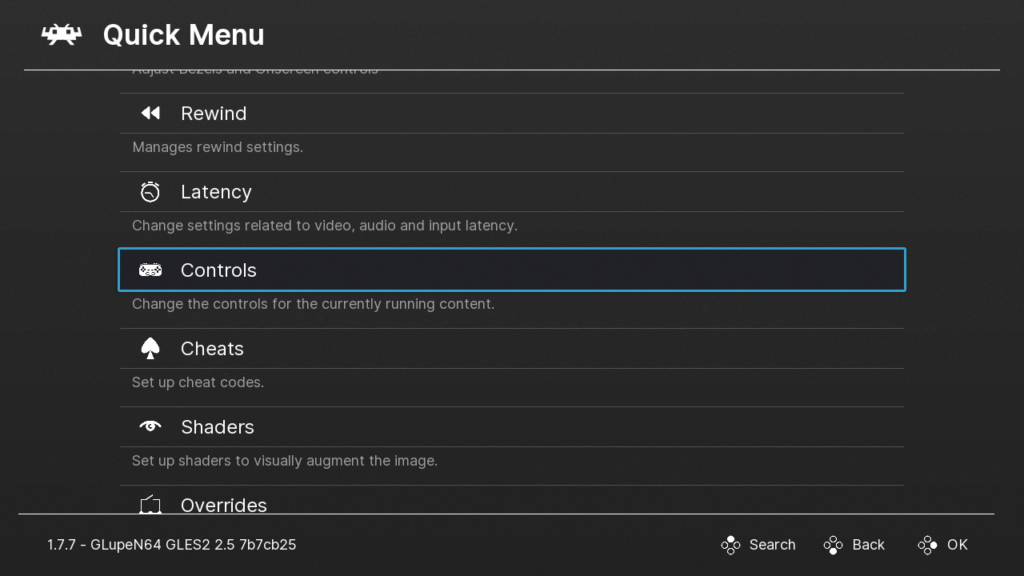
On this page you will be able to configure your controller.
Adding More PSX Games in the Future
It’s even easier adding games in the future.
1. Run hakchi.exe.
2. Hit Add more games and add your ROMs.
3. Configure your game.
4. Hit Synchronize selected games with NES/SNES Mini.
5. When prompted, connect your NES Classic Mini and turn it on.
It’s that easy to add more games after the initial setup!
Please let us know which games ran well for you in the comments below. Thanks!