Want to expand the storage on your NES Classic Mini with a USB flash drive? Simply install the USB-Host mod to your console and you will be able to use an external USB flash drive or hard drive to increase the storage on your device. ROM files can be pretty large especially if you’re trying to add games from more graphic intensive consoles like the N64, PS1, PSP, MAME, and more. Don’t be limited with the internal storage on your NES Classic Mini. Follow our tutorial and learn how to install the USB-Host mod.

Before we get started:
You will need a USB OTG adapter which allows you to connect both your USB drive and power cable to your NES Classic.
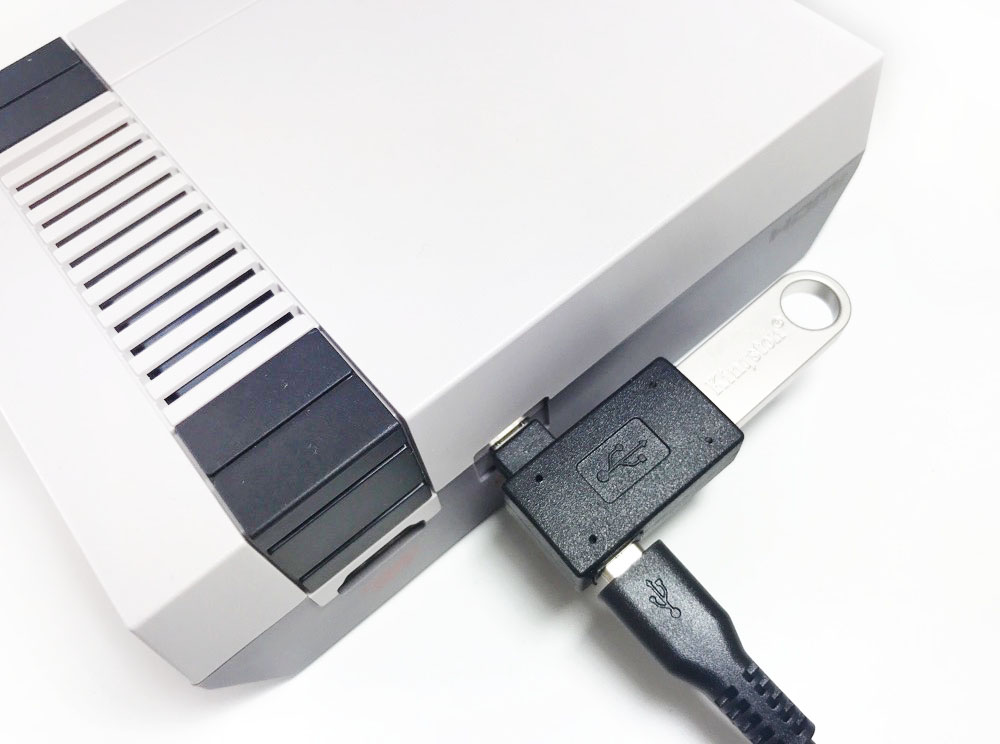
You can find these adapters on Amazon. I personally use this one: Left Angle USB Micro to USB Host OTG Adapter
Other modders have recommend this one if you want more ports: Multi-in-1 OTG Adapter Cable
You will need a computer running Windows to complete this tutorial. This guide uses the latest version of hakchi2 CE which we highly recommend.
Install USB-Host Mod to NES Classic Mini
If you have already installed hakchi2 CE to your console then your console is USB ready. You can skip to step #6 to see how to setup your USB flash drive.
1. Download hakchi2 CE (click on hakchi2-ce-#.#.#-release.zip) and extract it to your computer.
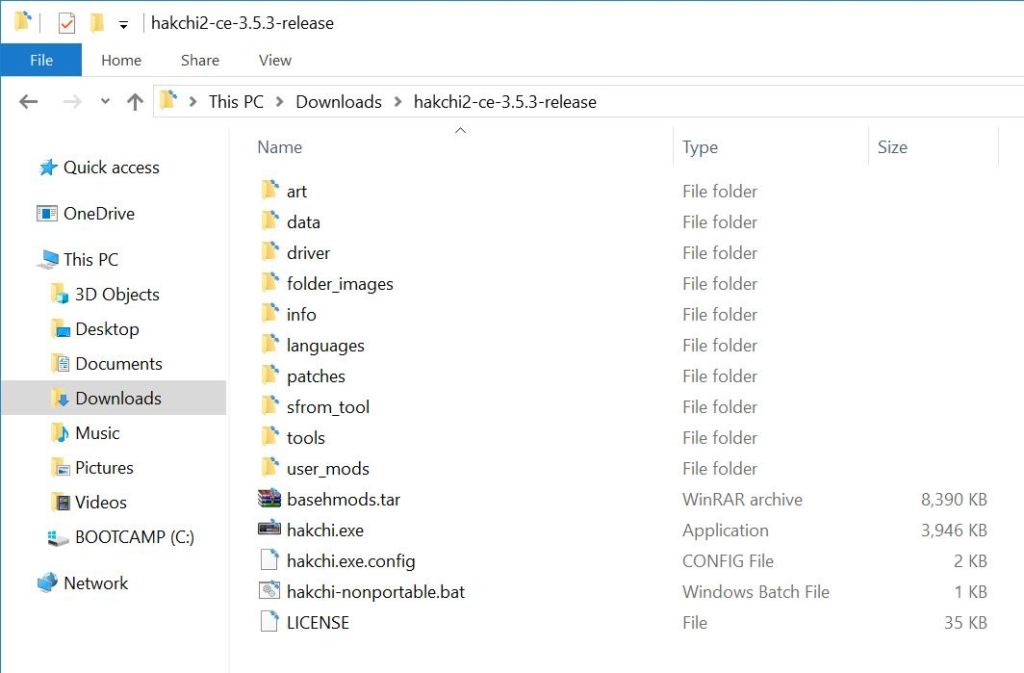
2. Open hakchi.exe.
3. Go to Kernel > Install / Repair.
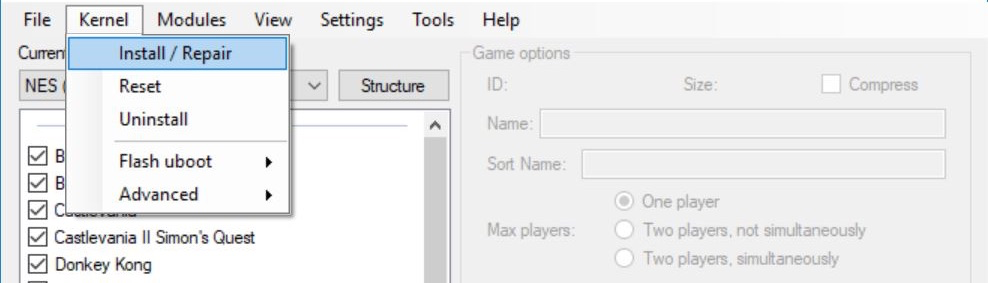
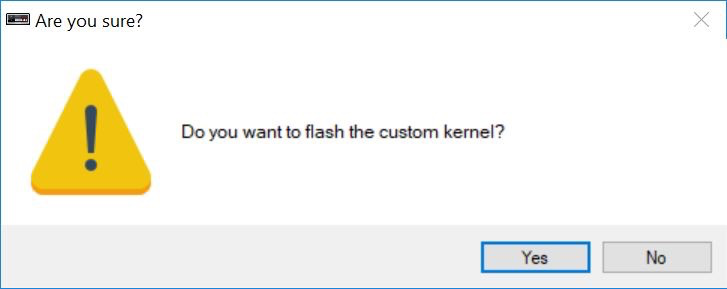
4. Hit Yes to flash custom kernel.
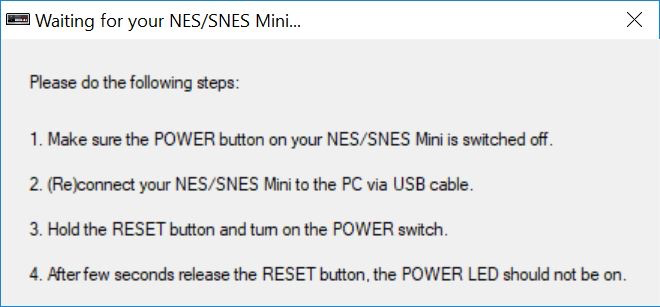
5. Connect your NES Mini to your computer with the included micro-USB cable and if prompted, make sure you install the drivers – you will only need to install the drivers your first time. Now follow the instructions on the screen: hold the Reset button, turn on the Power switch, and then after a few seconds release the Reset button.
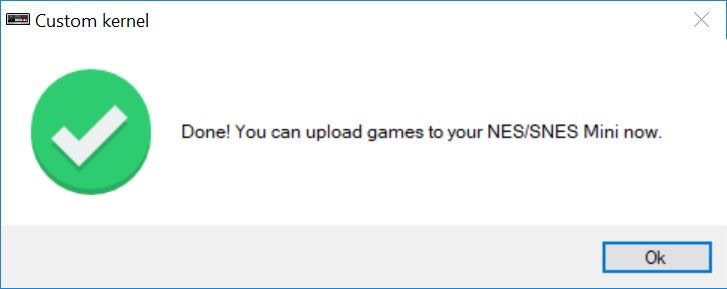
After it’s finished flashing, your console will now be able to read a USB flash drive.
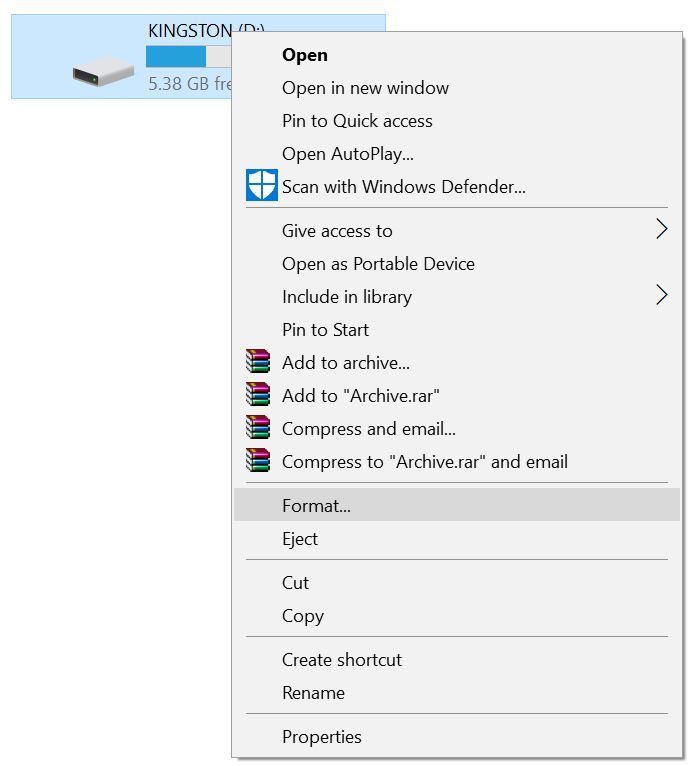
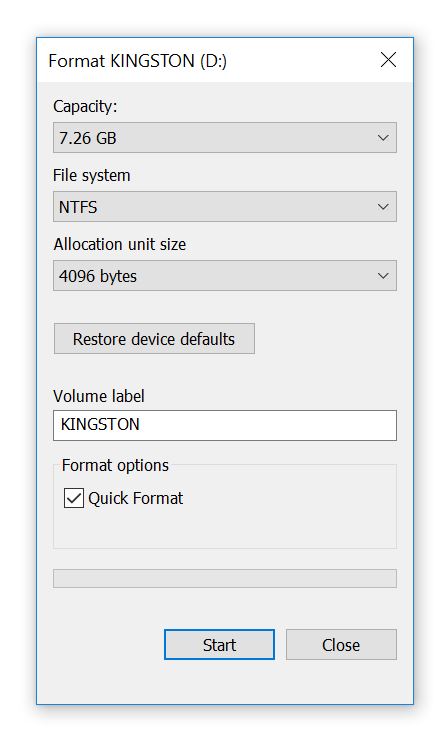
6. Connect your external USB storage device to your computer, locate the USB device in the folder, right-click it, and press Format…
7. Select NTFS as the File system and press Start.
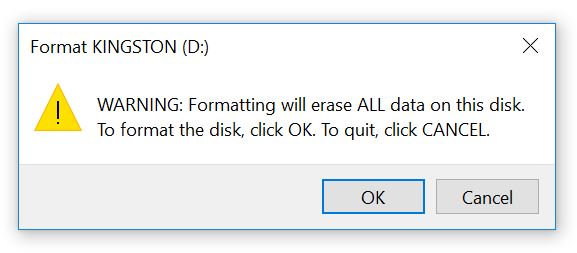
8. Press OK.
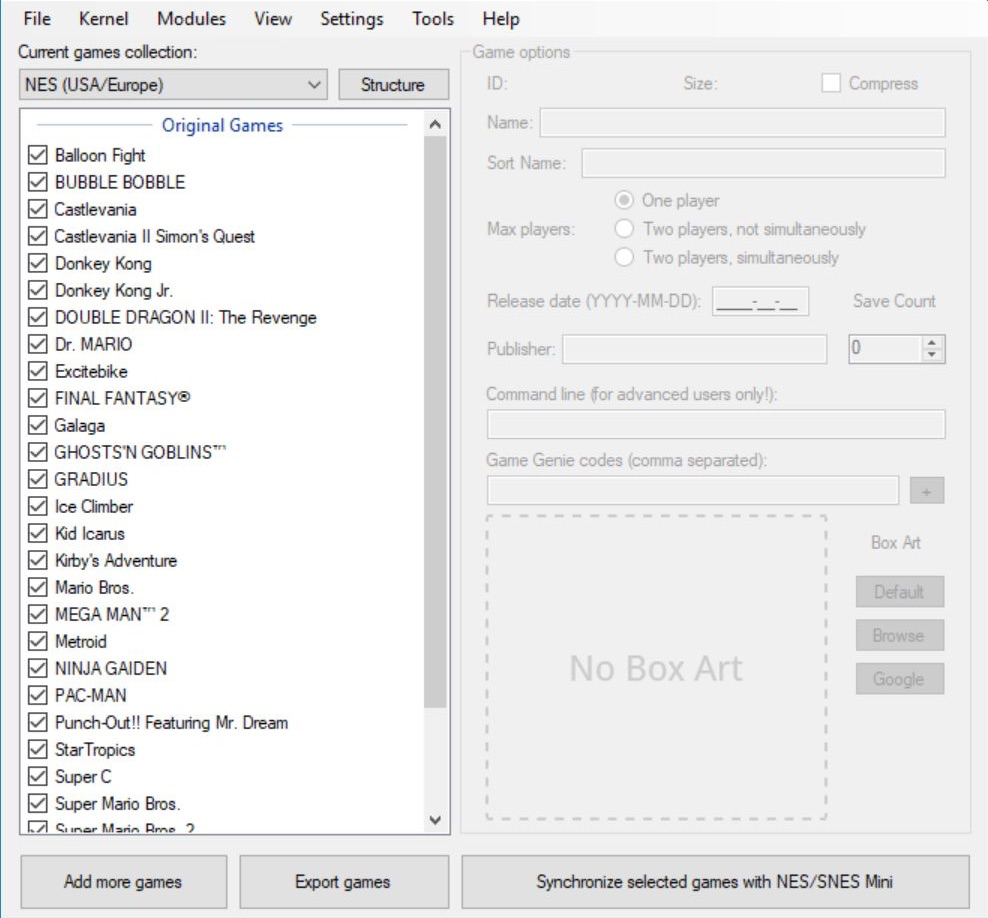
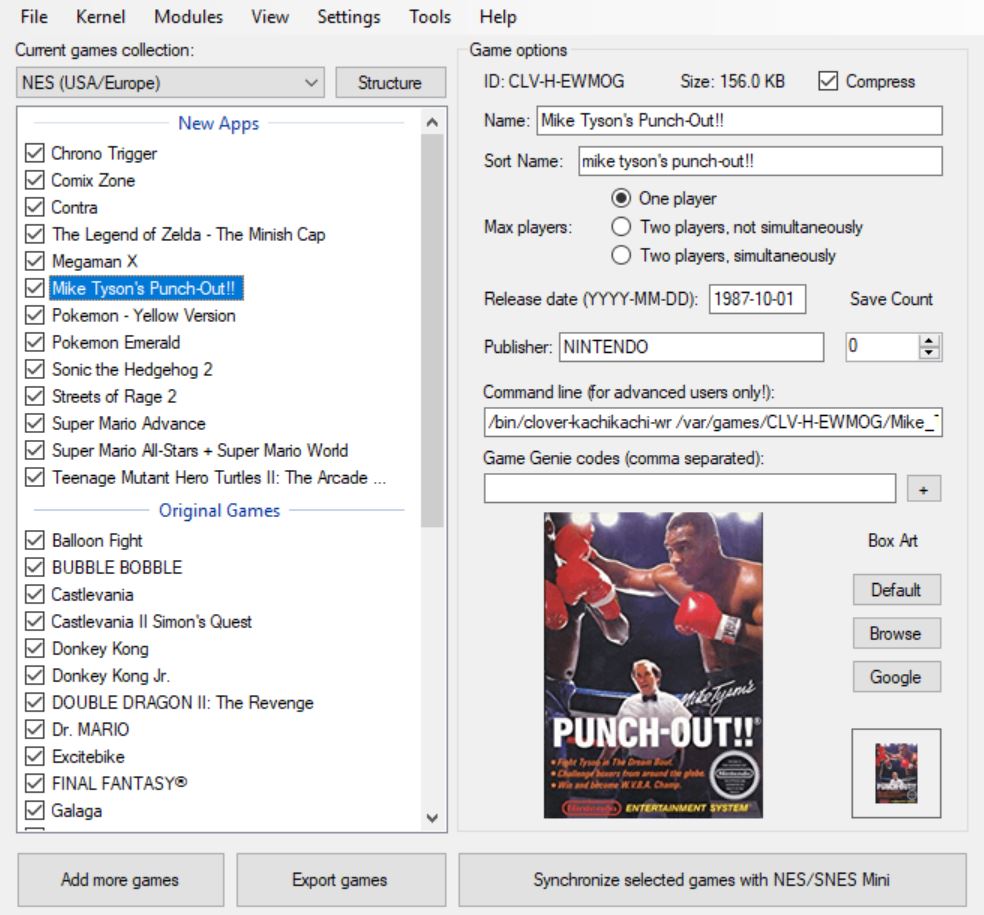
9. Now, go back to hakchi2, press Add more games, and add your ROMs (you can add multiple files at time).

7. (Optional) Select a game and you can edit the information including the game name, box art, and more on the right side under Game options. You can also right-click the game and hit Download box art for selected games to automatically download the box art. You can change the way your games are displayed on the NES Classic main menu by pressing the Structure button and changing the option.
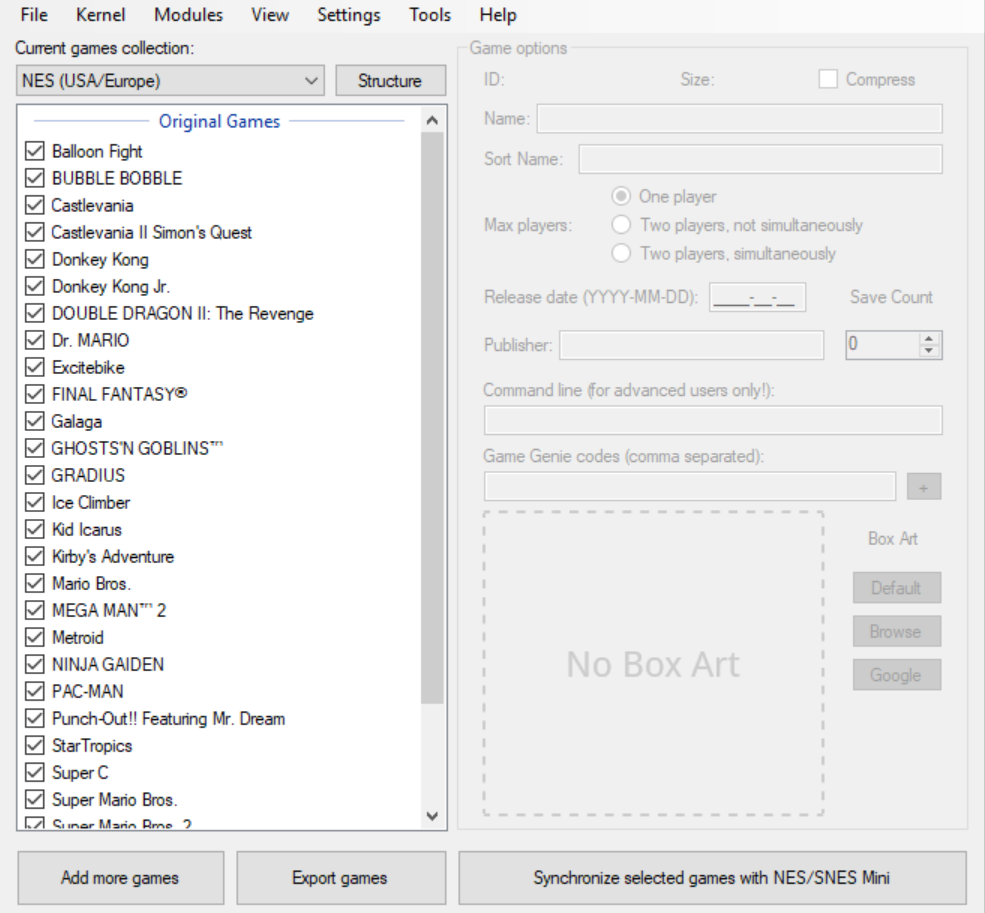
8. After you have added all of your games, press Export games.
![]()
9. Export the games to your external USB storage drive.

After, the export is completed. You can now test it out. Connect your USB storage drive to your NES Classic Mini via the USB OTG adapter and connect the micro-USB cable. Now power it on and you should see all of the games that you exported to your USB storage drive on your NES Classic Mini.

Adding More Games to USB in the Future
Adding more games in the future to your USB storage drive is even easier than the initial setup.
1. Run hakchi.exe.
2. Press Add more games and add your ROMs.
3. Connect your USB storage drive to your computer and press Export games.
![]()
4. Export the games to your USB storage drive.
If you have any problems or questions, please leave us a comment below.